
Many of us rely on Windows Search to find files and launch programs as Windows comes with a robust search engine that allows user to find apps, search the Windows Store and the web, and find files on your PC, but searching for text within the files is limited to specific file types by default. Here’s how you can enable searching through file contents in Windows 10.
This technique works in Windows 10, 8, 7, or even Vista. The screens might look a little different, but it’s the same basic process on all versions.
Steps to enable Option To Search Through File Contents
Click the Cortana or Search button or box on the Taskbar.

Start typing “indexing options.” Then, click on Indexing Options under Best match.
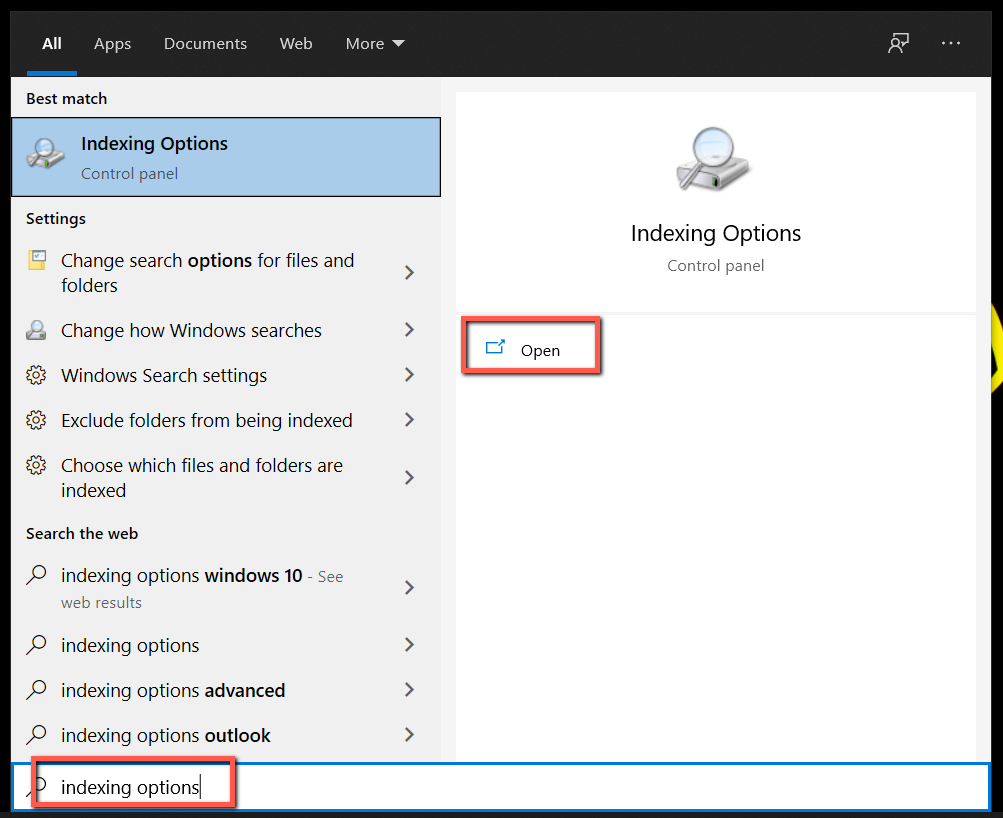
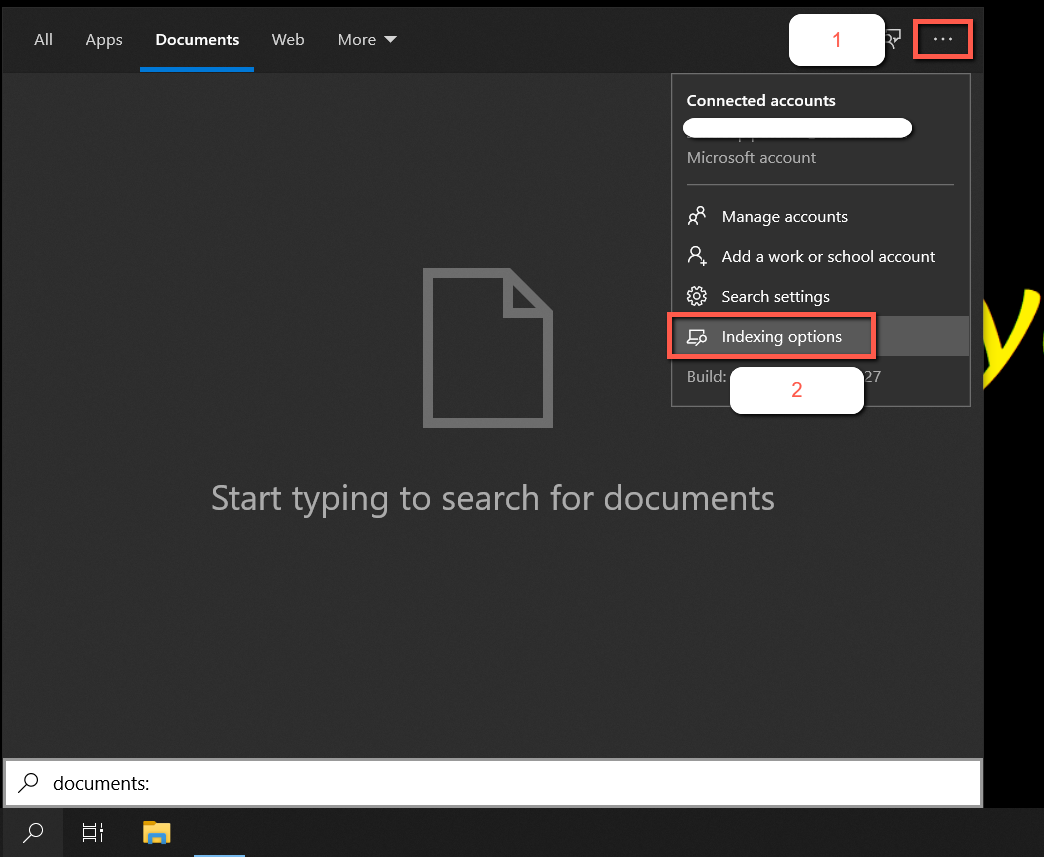
Alternatively you can also click the 3 dots icon on the extreme right of the search window (If you are a windows 10 user) and Click on the “Indexing options”.
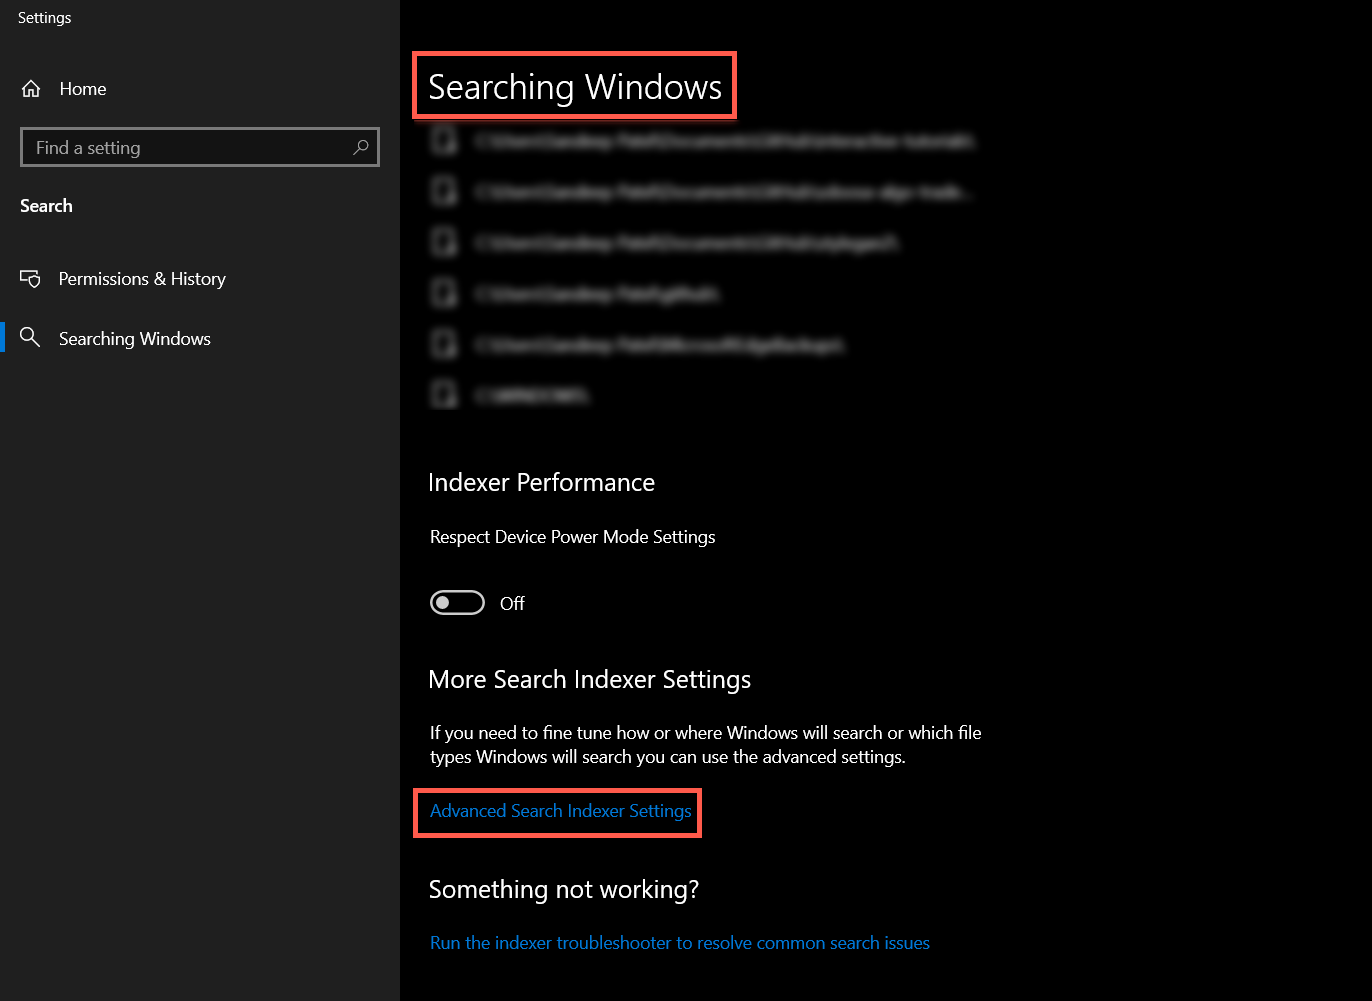
Scroll down to “Advance Search Indexer Settings” and click on the option. The Indexing Options dialog box will open.
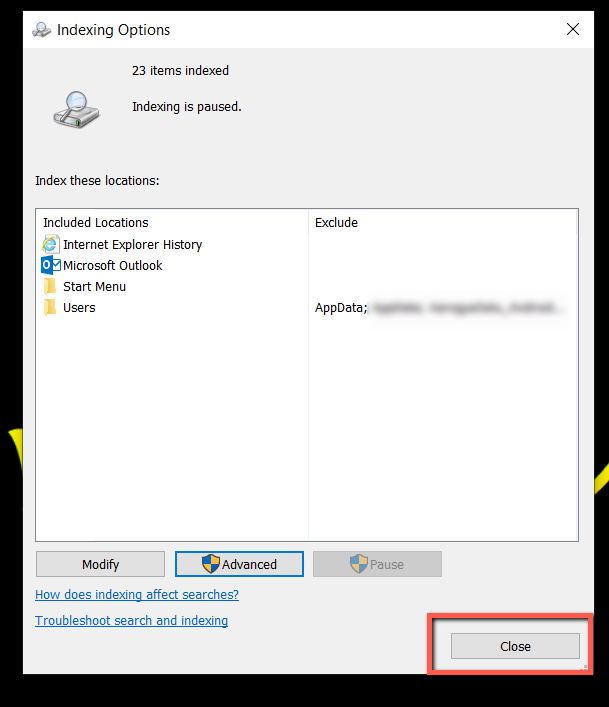
On the Indexing Options dialog box, click Advanced.

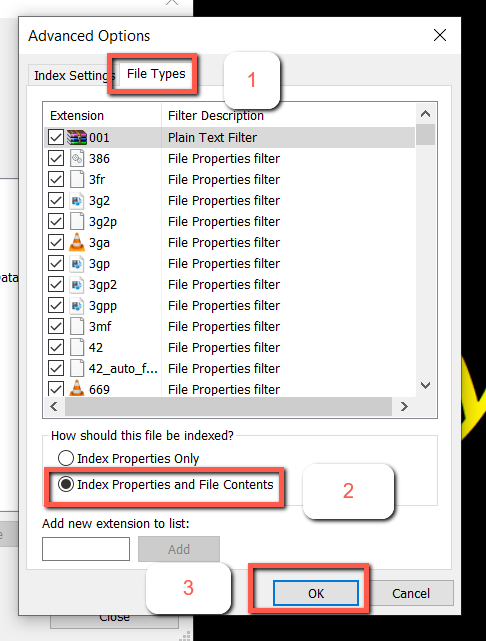
Click the “File Types” tab on the Advanced Options dialog box. By default, all the extensions are selected. This will allow Windows to search through all the types of files on your hard drive.
Select the “Index Properties and File Contents” option in the “How should this file be indexed” section. Then, click OK.
A Rebuild Index dialog box will display, rebuilding the index might take a long time (depending on the files). That means that all the contents of your hard drive might not be searched until the indexing process is finished. Click OK.

Click Close on the Indexing Options dialog box.
Search Through File Contents in File Explorer
Now, you can start searching for text in File Explorer, Windows will search the contents of files for the text in addition to searching the file names.

Remember, if you don’t get results for your search, you may have to wait for the folders and files to be indexed.
If you are facing some difficulty in any step, you can also view this on youtube (language Hindi).