SSL certificates are what enable websites to move from HTTP to HTTPS. The principal motivation for HTTPS is authentication of the accessed website and protection of the privacy and integrity of the exchanged data while in transit. It protects against man-in-the-middle attacks. The bidirectional encryption of communications between a client and server protects against eavesdropping and tampering of the communication.
In this example, we have generated the SSL certificate from the ZeroSSL website.
If you want to create an SSL certificate for free, you can refer below post
Steps to Generate SSL Certificate for Free
First, log in to your Godaddy account and Navigate to Web Hosting and then click on Manage. The cPanel will open. Now follow the below steps.
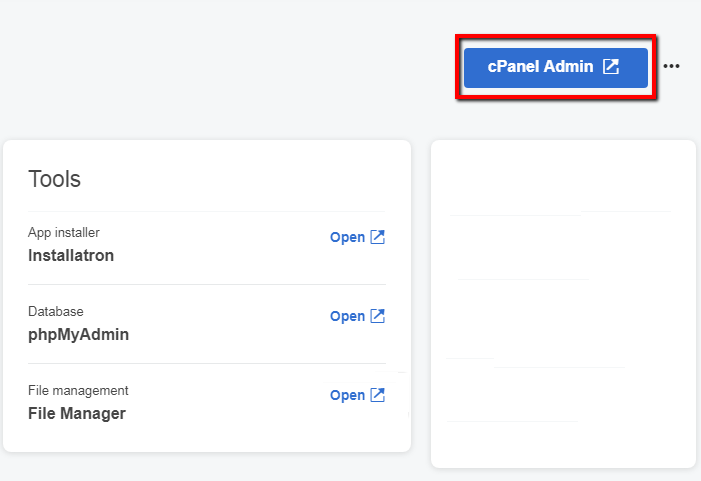
Step 1 – Click the cPanel Admin button.
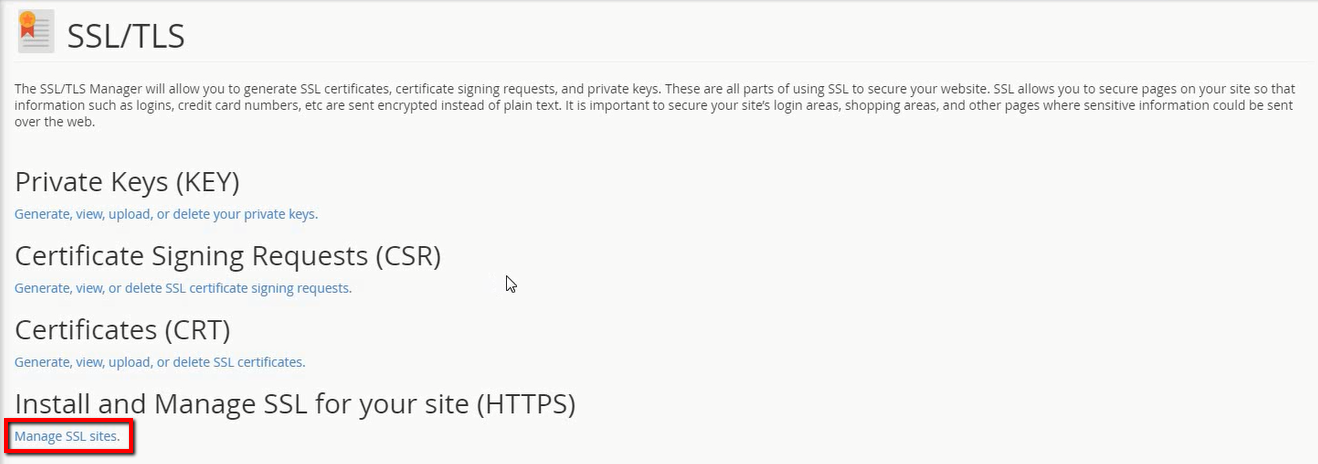
Step 2 – In cPanel Administration window Go to Security Tab and click on SSL/TLS link.

Step 3 – The below screen will be displayed, now click on Manage SSL Sites link under the Install and Manage SSL for your site (HTTPS).
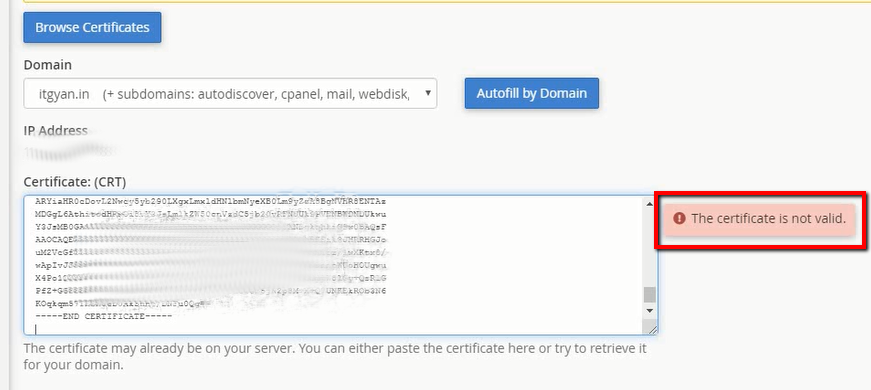
Step 4 – Select your domain from Domain dropdown for which you want to configure SSL.
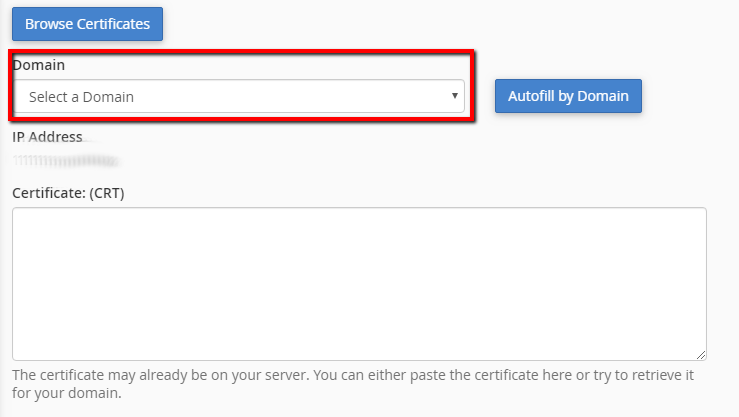
Step 5 – Paste the Certificate (CRT) file generated in ZeroSSL website. When you paste the SSL file sometimes you may see “The certificate is not valid” error message.
Steps to Generate SSL Certificate for Free
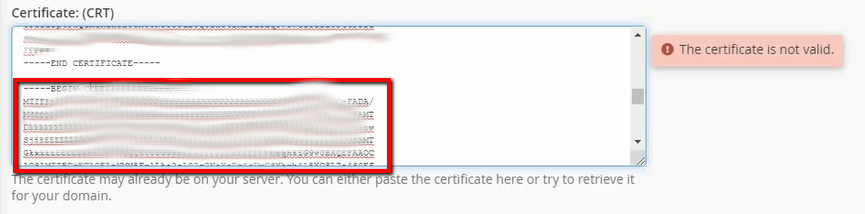
The reason for this error is, The CRT text is printed twice in the textarea. To remove the error, you need to clear the duplicate Begin and End Certificate Text.
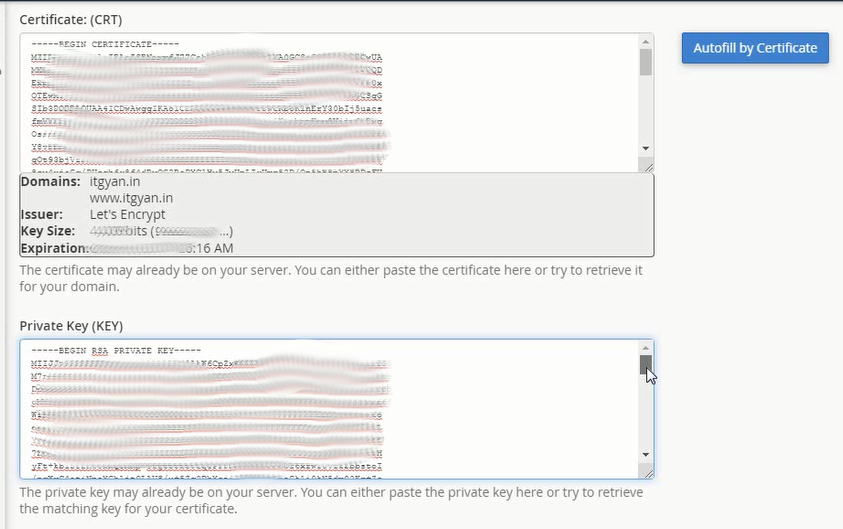
Step 6 – Once you cleared the duplicate text the invalid certificate error will be removed and Validation textarea will be shown as below.
Step 7 – Now paste the Private Key (KEY) text generated in ZeroSSL website.
Steps to Generate SSL Certificate for Free
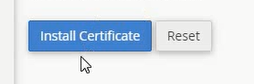
Step 8 – Click the Install Certificate button.
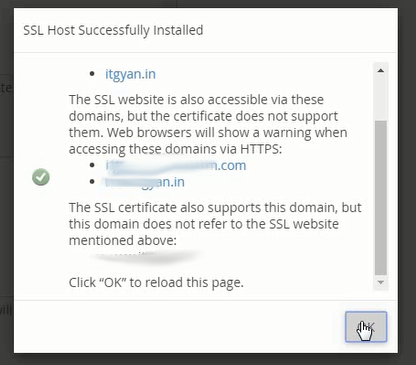
Step 9 – A confirmation message will be shown that SSL Host Successfully Installed. Click the Ok Button.
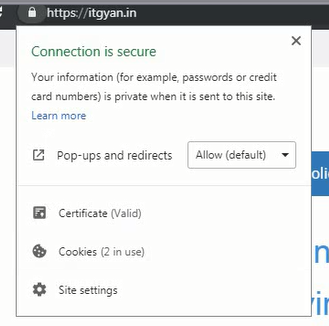
Step 10 – You can check that your website has an SSL certificate installed and the site is working properly.